Crown preparation: procedure and instrument sequence
Crown preparation in 5 steps: which diamond shape and grit for each step, depth marking from 0.5 to 0.9 mm and maximum permissible speed of up to 450,000 min⁻¹.

Wird geladen …
2'413 items in stock, ready to ship in 48 hours.
Crown preparation in 5 steps: which diamond shape and grit for each step, depth marking from 0.5 to 0.9 mm and maximum permissible speed of up to 450,000 min⁻¹.

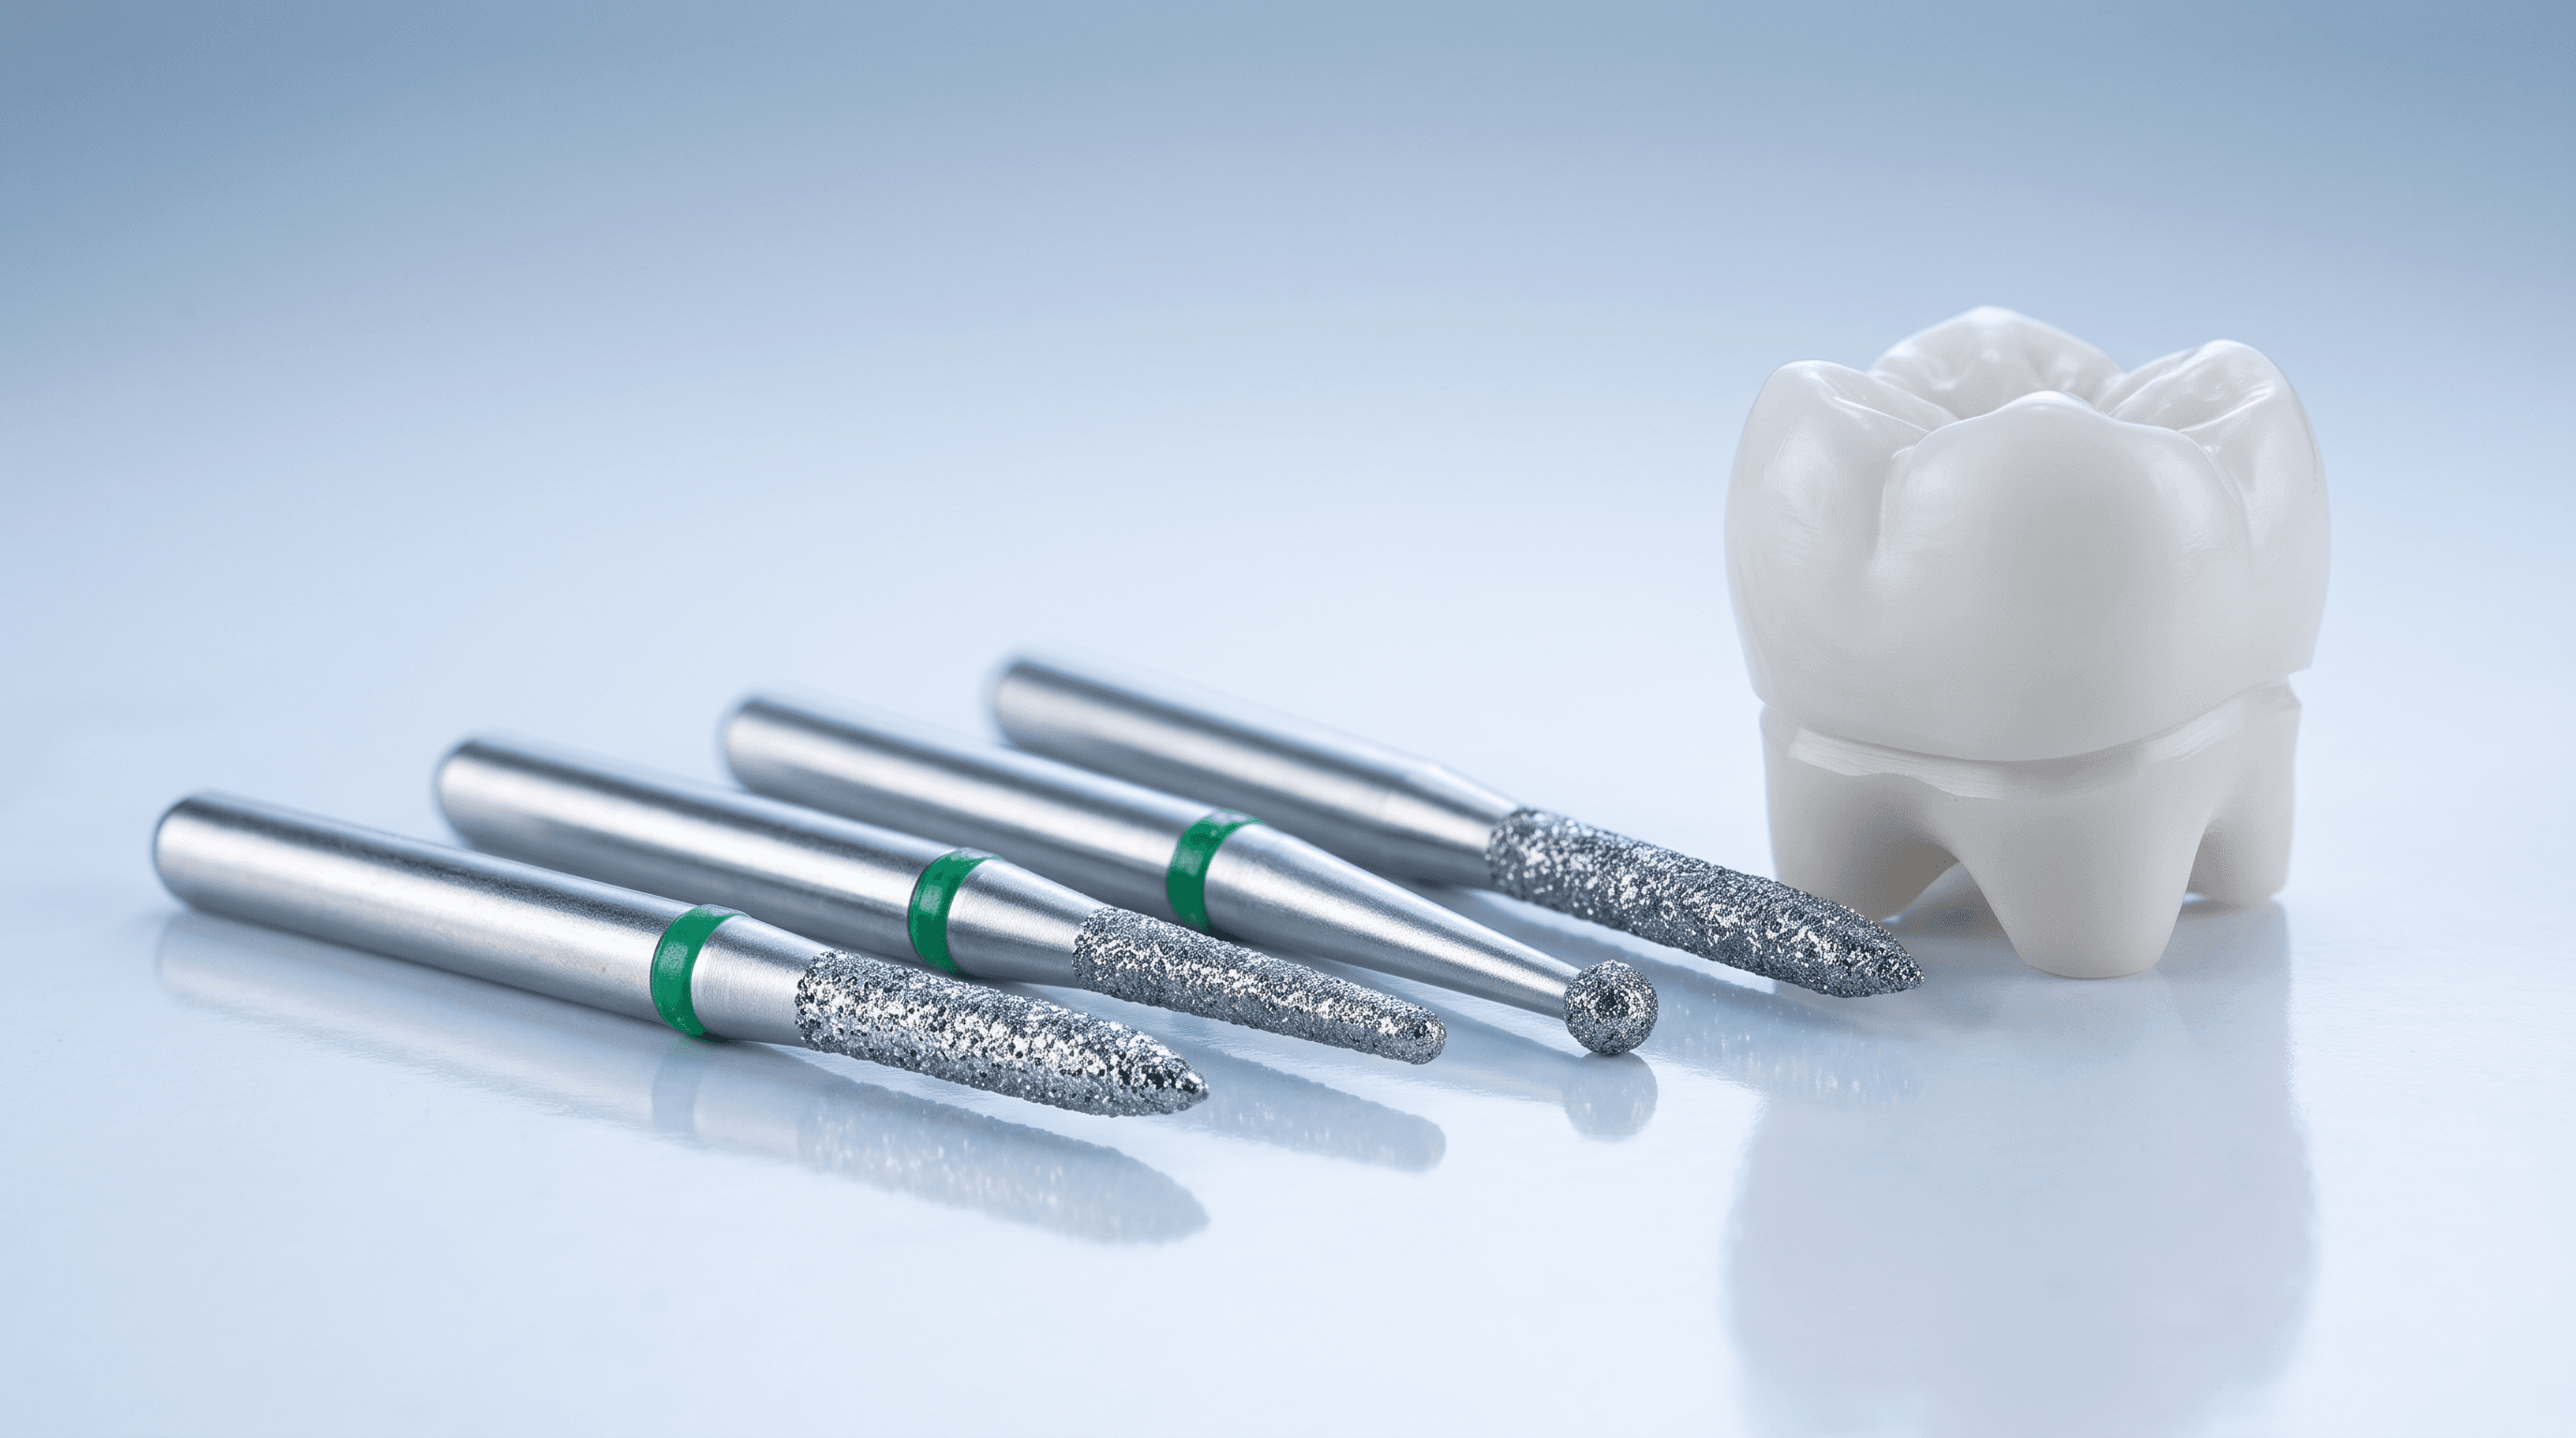
A crown preparation follows a fixed sequence: depth marking, occlusal reduction, axial reduction, creating the preparation margin and finishing. For each step there is a suitable diamond shape and grit, from coarse removal to extra fine smoothing. Following this instrument sequence ensures controlled reduction and produces a prepared tooth with a clear path of insertion and a well-defined margin.
The crown preparation begins with depth marking and ends with finishing the preparation margin, so that the reduction remains measurable on every surface. First the occlusal surface, then the axial walls: teaching studies on crown preparation also describe the procedure in this order, with depth marks made using instruments of known geometry defining the reduction depth.
The table shows the steps with instrument and grit.
| Step | Instrument (ISO shape) | Grit |
|---|---|---|
| 1. Depth marking | Round (001) or depth marker (552) | 524 or 534 |
| 2. Occlusal reduction | Bud (257) or egg (277) | 534 |
| 3. Axial reduction | Torpedo (289) or round-end taper (198) | 534 |
| 4. Creating the preparation margin | same shape, smaller Ø if required | 524 |
| 5. Finishing | same shape | 514, then 504 |
Check the reduction between the steps. Insufficient occlusal reduction weakens the crown: for monolithic zirconia, a laboratory study found that the occlusal thickness was the main factor determining fracture load.
Depth marking uses the known geometry of the instrument: a round bur sunk to its equator marks a depth exactly equal to its radius. The grooves are then reduced down to their base, and the reduction then corresponds to the marking depth.
The table shows round bur diameters and the corresponding marking depth.
| Round Ø | Depth to equator | Example | FG items per Ø |
|---|---|---|---|
| 1.0 mm | 0.5 mm | 801.314.010x006 | 4 |
| 1.2 mm | 0.6 mm | 801.314.012x006 | 5 |
| 1.4 mm | 0.7 mm | 801.314.014x006 | 6 |
| 1.6 mm | 0.8 mm | 801.314.016x006 | 5 |
| 1.8 mm | 0.9 mm | 801.314.018x006 | 6 |
For the occlusal surface, the depth marker 834 with 2.1 mm is also available. The depth required by the material is stated in the manufacturer's processing instructions.
The retention of a crown results from slightly converging axial walls and sufficient preparation height. The literature recommends a total convergence of 10 to 20 degrees and a preparation height of at least 4 mm on molars and 3 mm on the other teeth. Tapered diamonds such as the torpedo and the round-end taper define the convergence through their own taper, provided you always guide the instrument along the planned path of insertion. If it is tilted, the wall becomes steeper or flatter, and retention is lost or undercuts are created.
If these conditions are not met, for example with short preparations, the literature recommends additional axial grooves or boxes, preferably on the proximal surfaces. Long working parts, such as the torpedo 879 with 10 mm instead of 8 mm on the 878, cover high axial walls in a single pass and avoid steps in the wall. Round off sharp edges between the occlusal and axial surfaces at the end; for CAD/CAM-fabricated crowns, rounded edges are considered a prerequisite for a good fit.
The preparation margin is created with the shape that has already prepared the axial wall and is then finished with a finer grit. Which margin suits which material, i.e. feather edge, chamfer or shoulder, and which diamond shape produces it, is covered in the separate article on the preparation margin. What matters for the procedure is this: the margin is only created after axial reduction and is no longer worked with a coarse grit.
Choose coarse for reduction, medium for the preparation margin and fine to extra fine for finishing, always in the same shape. With swissdia, you can identify the grit from the article number, while the basic shape remains the same.
The table shows the identification using shape 856 as an example.
| Item | ISO code | Grit | Step |
|---|---|---|---|
| 5856 | 544 | super coarse | rapid reduction |
| 6856 | 534 | coarse | reduction, depth marking |
| 856 | 524 | medium | creating the preparation margin |
| 8856 | 514 | fine | finishing the margin |
| 856EF | 504 | extra fine | smoothing the margin before impression or scan |
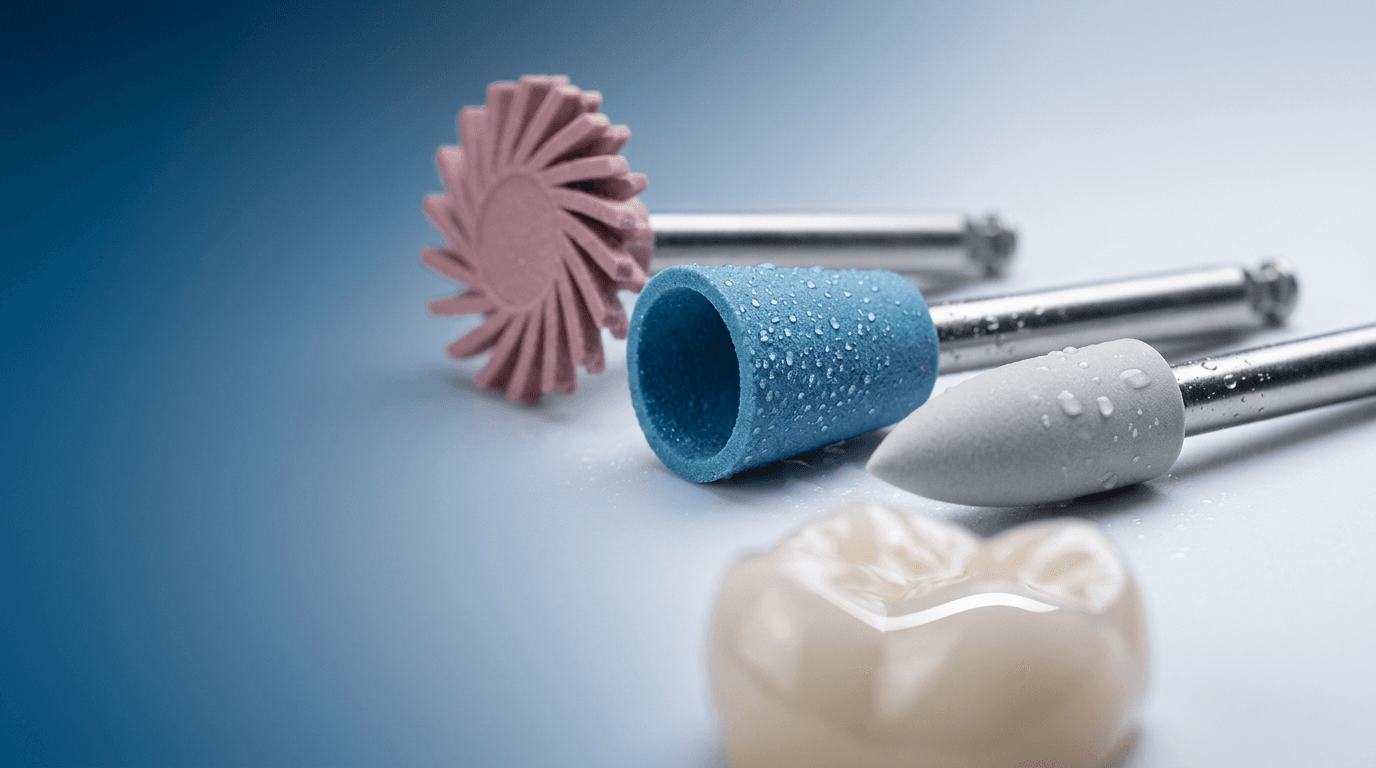
A shape set in four or five grits saves time, because the finishing instrument follows exactly the geometry created by the coarse instrument. Changing the shape during finishing, on the other hand, easily produces a second edge. How shape, grit and size are expressed in the code is explained in ISO 6360: grit and shank. You will find the range under Clinical diamond burs.
The maximum permissible speed of a diamond decreases as the head diameter increases, because the peripheral speed rises.
The table shows the maximum speeds of the FG diamonds in the range according to the catalogue.
| Working part Ø | Maximum speed | Items |
|---|---|---|
| 0.7 to 1.8 mm | 450,000 min⁻¹ | 814 |
| 2.0 to 2.3 mm | 300,000 min⁻¹ | 89 |
| 2.5 and 2.7 mm | 160,000 min⁻¹ | 27 |
| 2.9 and 3.1 mm | 140,000 min⁻¹ | 13 |
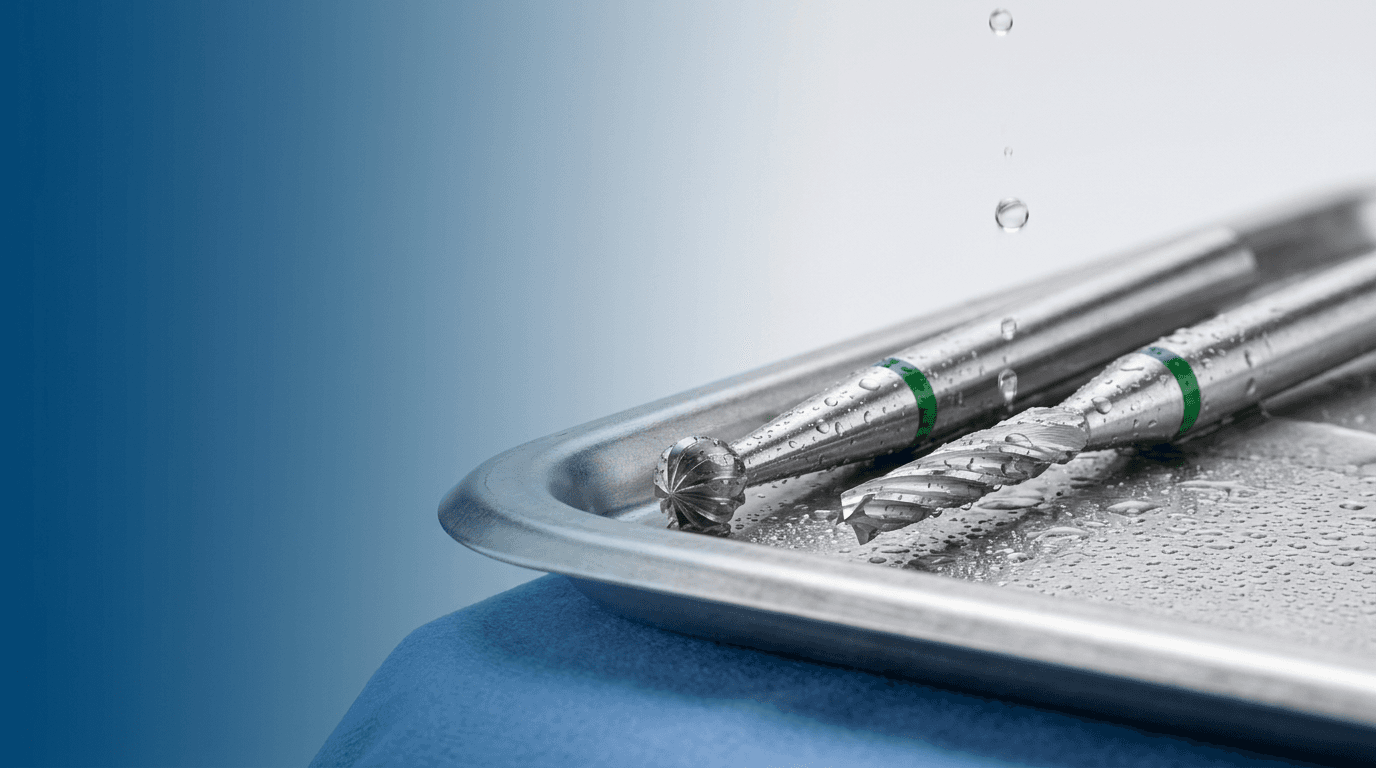
The maximum speed is an upper limit, not a recommendation. How the turbine, red and blue contra-angle handpieces determine the speed at the instrument is explained in Choosing the right speed. Work with sufficient water cooling and light contact pressure: according to the Recommendations for use and reprocessing, excessive pressure leads to undesirable heat generation, and in a laboratory study the pulp temperature rose most with a low coolant flow.
For a zirconia crown, the natural tooth is prepared with standard diamonds; special zirconia diamonds are only needed when existing ceramic is being worked on. Thanks to its high strength, monolithic zirconia allows a thinner wall thickness than lithium disilicate: in a laboratory study, zirconia crowns with 0.5 mm occlusal thickness withstood higher loads than lithium disilicate crowns with 1.5 mm. Rounded transitions without sharp internal angles are important, because sharp edges impair the marginal and internal fit of CAD/CAM-fabricated crowns. Which diamonds work on zirconia is shown in Diamond burs for zirconia, and working on the finished restoration is described in Working with all-ceramics: lithium disilicate, zirconia.
All swissdia diamonds are Swiss Made in accordance with ISO 13485, available from stock and ready for dispatch within 48 hours. Register as a professional customer and find your preparation set in the Shop.
The tooth is reduced circumferentially until there is space for the crown in the required wall thickness: first depth markings, then occlusal and axial reduction, and finally the preparation margin and smoothing of the edges. The preparation is then impressed or scanned. The required wall thickness is specified in the processing instructions for the crown material.
A basic set includes a round bur or depth marker, a bud or egg shape for the occlusal surface and a tapered diamond for the axial walls. These shapes should be available in coarse, medium, fine and extra fine grit. For anterior and posterior teeth, it is worth having two diameters of the same shape.
Published preparation sequences place occlusal reduction first after depth marking, followed by axial reduction. This establishes the abutment height before the axial walls are formed. Abutment height is decisive for retention: the literature cites at least 4 mm on molars and 3 mm on the other teeth.
The decisive factor is the maximum speed on the label, which depends on the head diameter. At rotatec, diameters up to 1.8 mm are rated at 450,000 min⁻¹, and 2.0 to 2.3 mm at 300,000 min⁻¹. Larger heads have lower limits.
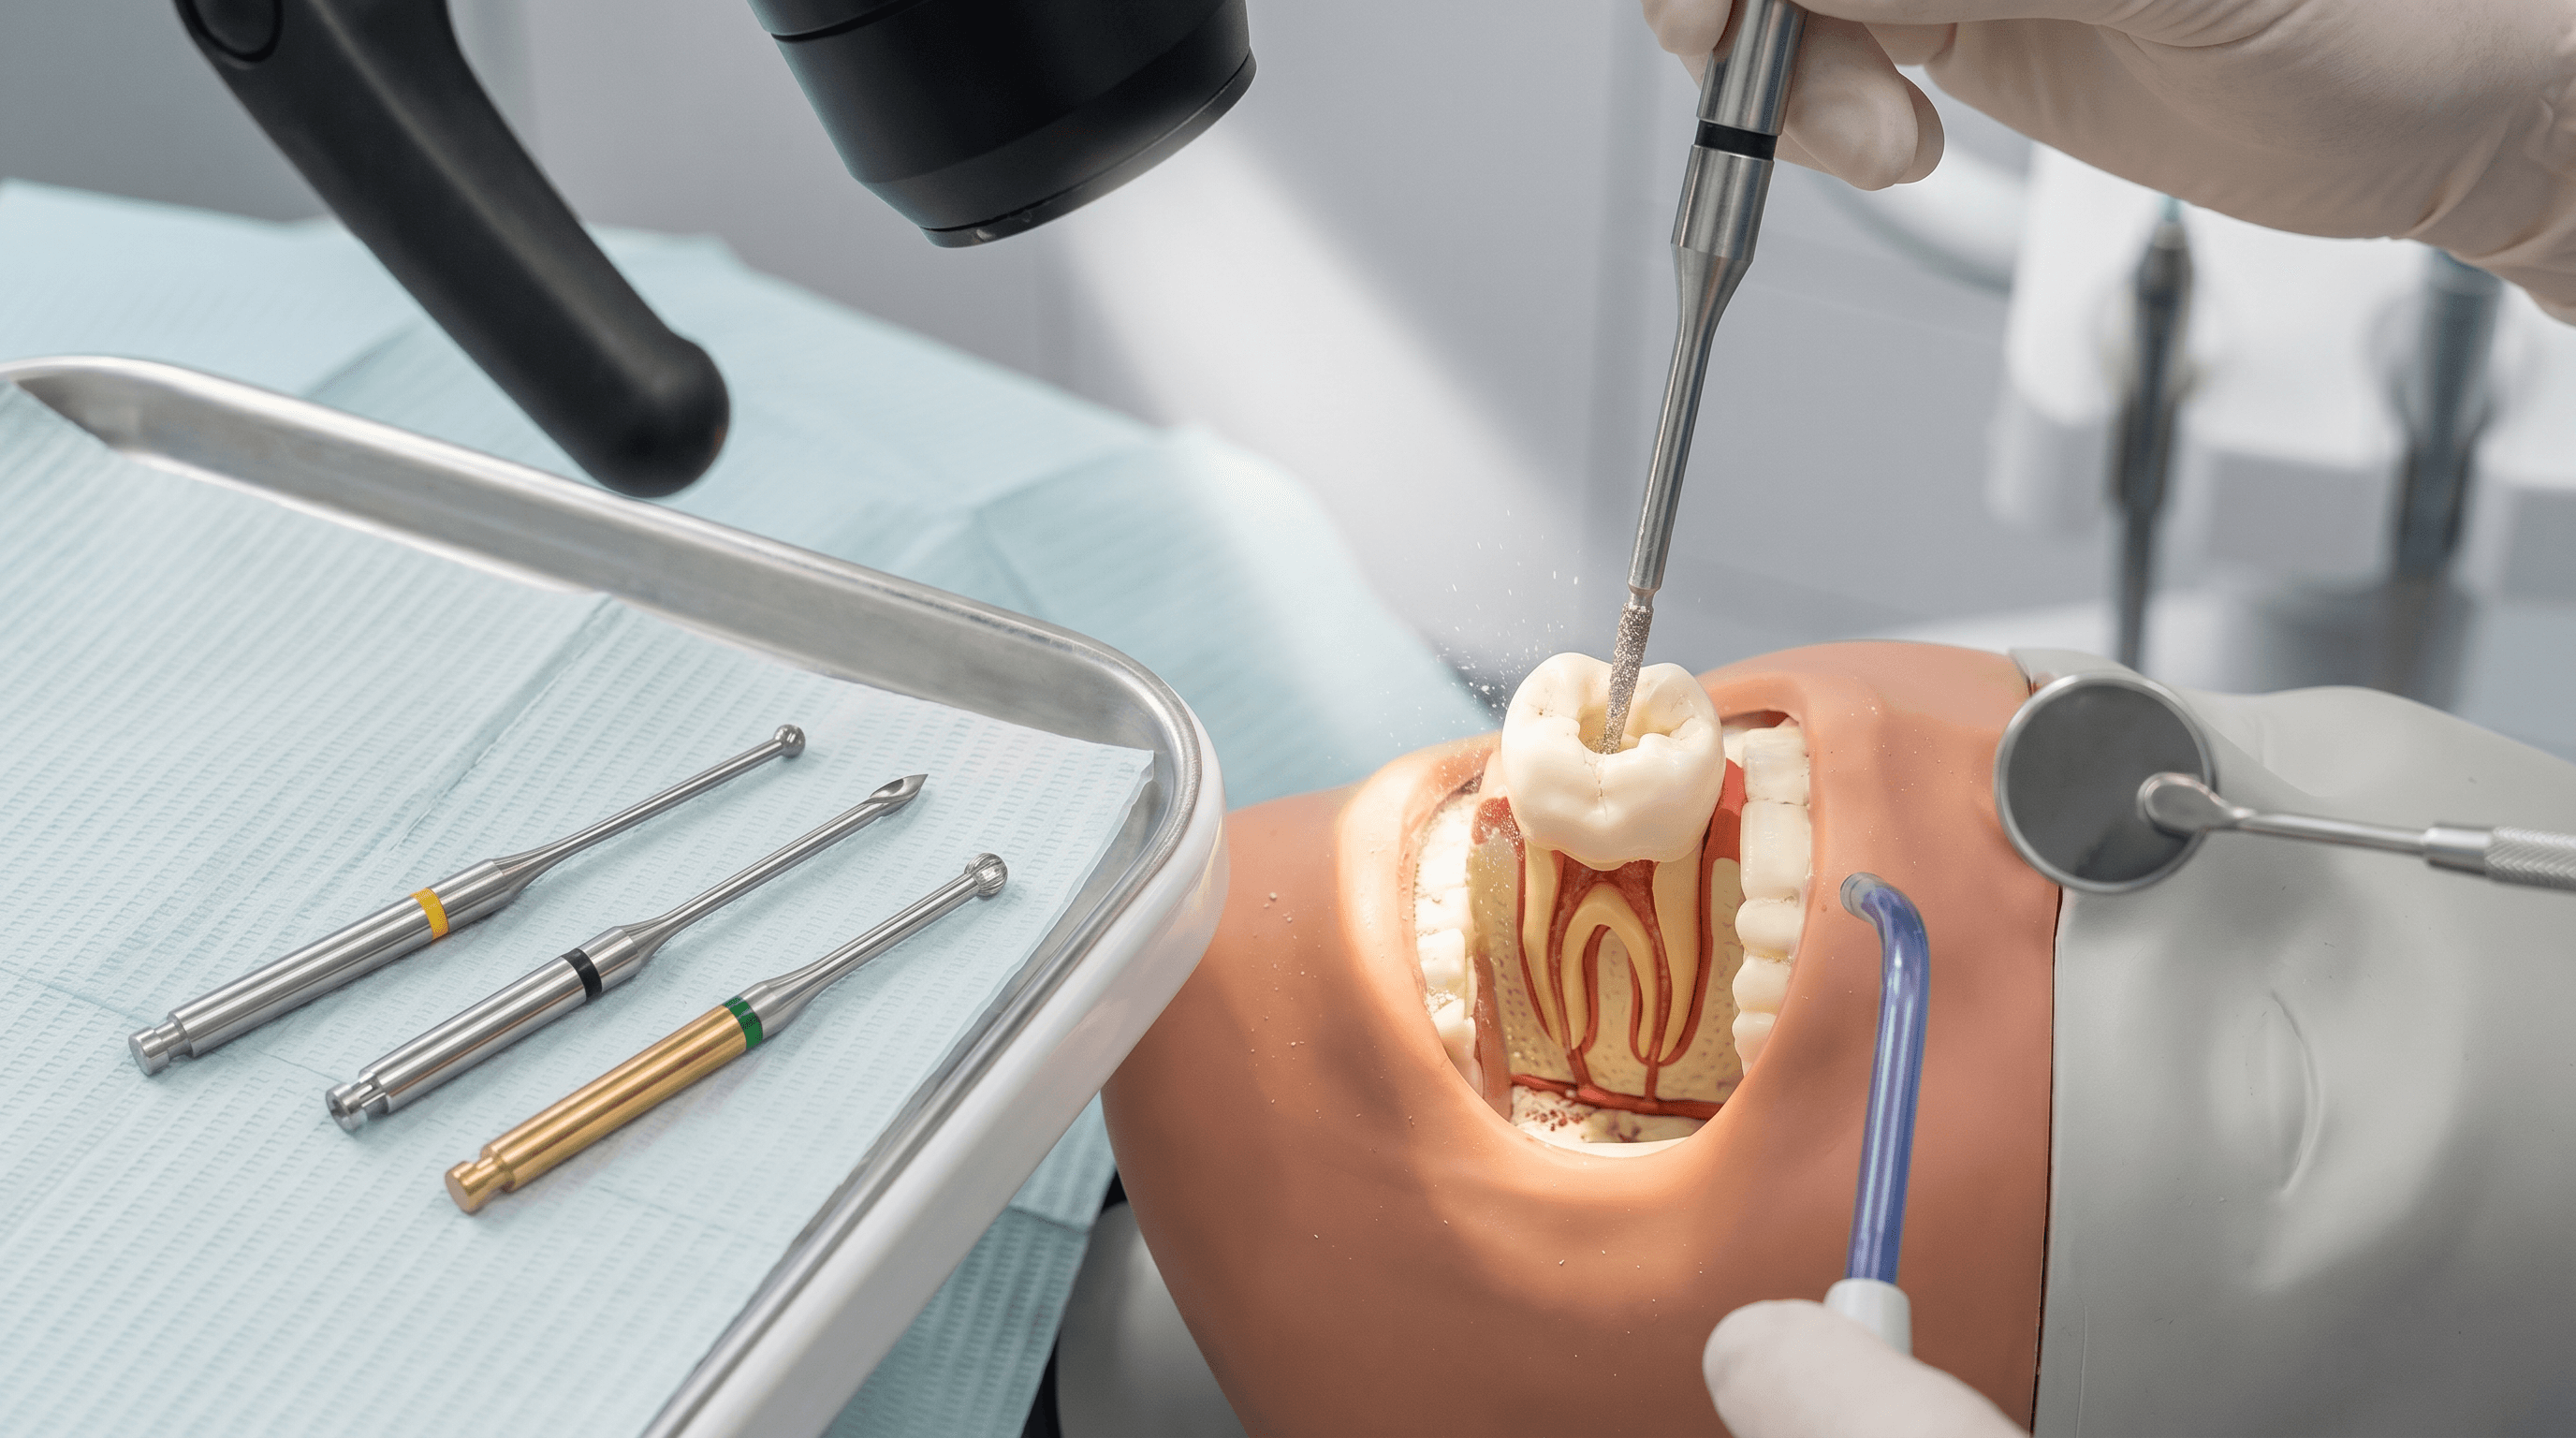
Diamond burs grind rather than cut. In the rotatec article data, they are specified for crown, cavity, inlay and veneer preparation as well as for trepanation. For removing old amalgam and composite fillings, the application recommendation specifies carbide burs.
The two main groups are diamond instruments, which grind, and carbide burs, which cut by removing chips. In addition, there are finishing burs for fine finishing, rose head burs for caries and surgical cutters. They are also distinguished by shank, namely FG for the turbine and RA and HP for the contra-angle and straight handpiece.
This depends on the type of zirconia and the manufacturer's processing instructions. Monolithic zirconia requires lower wall thicknesses than lithium disilicate: in a laboratory study, the fracture load of zirconia crowns with 0.5 mm occlusal thickness exceeded that of lithium disilicate crowns with 1.5 mm. Depth marking with instruments of known diameter makes the reduction measurable.

Anwendung
Polishers and prophylaxis: why polishing works in stages
179 instruments for polishing and prophylaxis. Why a fine polisher achieves nothing on a coarse surface, and which polisher suits composite or ceramic.

Anwendung
Bone cutters in oral surgery: shapes, shanks and heat
66 surgical round burs from 1.0 to 5.0 mm and 32 cutters for sectioning. Why a bone cutter cuts laterally and how to avoid heat damage.

Anwendung
Access cavity: instruments and Gates burs
Access cavity step by step: trepanning by material, canal orifices, Gates burs in 6 sizes from 0.5 to 1.5 mm and typical mistakes made during access.